Thank you so much for being an early pre-order of the Light Phone III, we appreciate your support so much. While we wrap up some final pieces for an updated support site with video demonstrations, we put together this page to outline everything you'll need to get up and running with the Light Phone III.
You can of course always email us at support@thelightphone.com with any questions!
Getting Set Up - Light Account & Activating the Light Phone
When you open your new Light Phone and boot it for the first time, you will be prompted to connect to Wifi so the phone can update to the latest software and create a Light Account.
The Light Phone is intended to be used with a Light Account (email + password), and you will be prompted to create one in the onboarding process. If you have used a Light Phone in the past you can use that same Light Account.
You can optionally add Emergency SOS features (where supported regionally) or add error logging so that we can help improve software stability in the future.
SIM And Service Set Up
The Light Phone requires an active SIM in order to operate properly. Learn more about which carriers/regions are supported on our Compatibility Checker page.
To get it in your hands as quickly as possible, we've shipped ahead of having full US carrier approvals, though we have been testing each carrier ourselves without issue for the past few months.
eSIM
eSIM is now available on the Light III. To use it, make sure you update your Light III to version v550 or later. Once the phone is updated, you can find the eSIM by pressing Settings > Account & Info > Device Info > SIMs > eSIM
Here's what you should know:
T-Mobile: Works great! You can move an existing SIM into your Light III or activate a new T-Mobile SIM with them without issue.
AT&T/Light: Moving an active AT&T or Light SIM into your Light Phone III works fine, we've been using ours for a few months now. Unfortunately, you will not yet be able to activate a new Light or AT&T SIM for Light Phone III, and would have to activate on another device then insert to the Light Phone. We really apologize for this inconvenience - this will likely only take a week or two.
Verizon: Moving an active Verizon SIM into the Light Phone III works well, we've been using our for a few months now. You will not yet be able to activate a new Verizon SIM for Light Phone III, and would have to activate on another device then insert to the Light Phone. We really apologize for this inconvenience - this will likely take a few weeks.
NOTE: You carrier may send an automated message claiming the device is not compatible, though it will likely work exactly as expected, sorry for that temporary confusion. It is also possible, though highly unlikely, that AT&T or Verizon may flag these phones, causing service disruptions. Fortunately we have not experienced this yet. Please let us know if you run into any issues at all.
Important Steps Before Switching from a Smartphone
If you are coming from a smartphone, these are some important steps to take before switching to a Light Phone. To ensure a smooth messaging experience YOU MUST DISABLE iMessage and RCS settings associated with your phone number prior to moving to the Light Phone. If you do not do these steps, you may miss messages from previous threads or contacts still trying to message via those platforms which are not supported on non-smartphones.
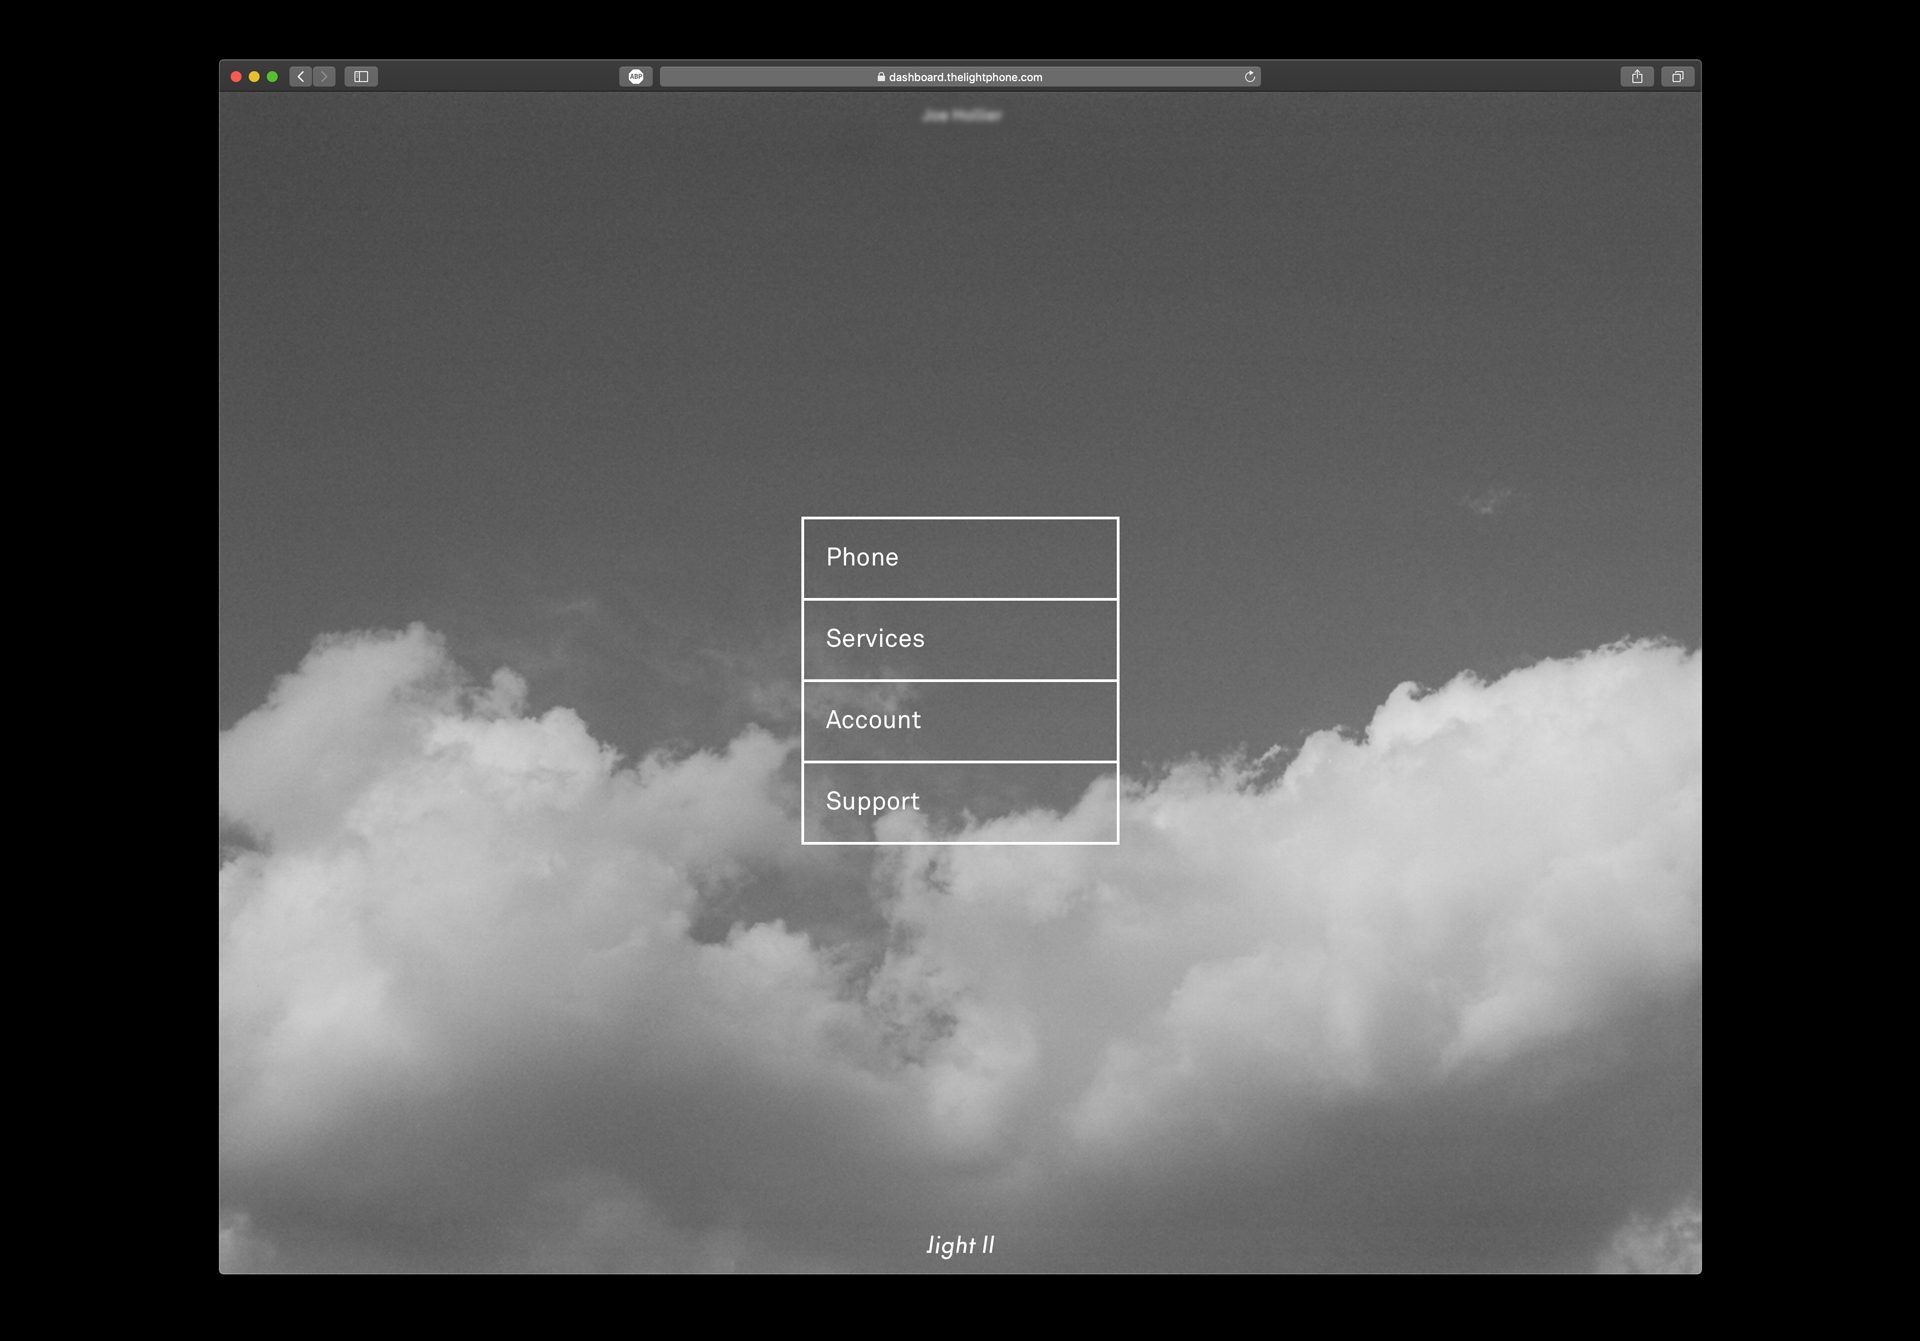
Dashboard Website - Importing Contacts & Tools
The Light Phone is managed through our Dashboard website. You can import contacts and add or remove various additional tools that we will be rolling out. You may manage multiple phones from one Light account. This is also how you'd activate a Light SIM.
The Phone
The Light Phone III is a small, simple cell phone. Here is an overview of the device itself.
Navigating the Phone (Menu)
The larger middle button on the right side of the phone is what we call the "Menu" button. This is how you navigate around the device, opening the toolbox, and returning to the home screen.
If you are on an active call or actively using a tool in the background like directions, music or podcasts, you can long press the Menu button to return to that active screen.
The Camera
On the lower right side of the phone is the two-step camera button. Pressing this button will open the camera from anywhere in the LightOS, for quickly getting a shot. You can half press to focus/exposure lock, and a full press to take the photo/begin recording video.
There are three modes "photo" "video" and "selfie". You can open the album tool from the camera tool and there are options for the flash and an exposure compensation controls. We'll continue to roll out new settings in future updates.
Downloading Images/Videos to Computer
You can download your media from the album tool to a computer using a USB-C cord. Most computers have native software that you can use to preview/download/delete from the album tool. For instance, Image Capture software on Mac works well. There are also many third party options as well.
To grant the computer access to your phone's album tool, go to:
Settings > Preferences > USB Preferences: and select "Media Transfer"
Note: you will need to adjust this setting each time you plug in the device as a security precaution. Going forward this process will be a bit more streamlined, thanks for your patience.
Messaging Images
You can also send images via MMS message either from the album tool directly or using the attachment (+) icon on the keyboard when composing a message.
Light Wheel & Flashlight
On the left side of the phone is our wheel which controls the brightness (and will have other control options in future updates). Pressing the wheel turns on and off the flashlight itself.
Tools
The Light Phone III comes pre-installed with a basic alarm, camera and album tool. You can add, edit or remove tools from the dashboard website. More info on that:
Customize your Toolbox Menu, adding or removing tools, from the Dashboard.
Future Tools & Update
The phone will automatically receive periodic updates that are wireless. The updates will include performance optimizations, new features, settings, tools or bug fixes. All future tools that we will continue to roll out will always be optional, you choose whether to add them to your phone.
Overview of tool availability
View our software update change log.
Fingerprint ID
As of today, fingerprint ID is not yet enabled on the LightOS. We are expecting to enable this feature in the near future. We really apologize for any inconvenience that causes in the meantime.
Insuring your Light Phone III
We have partnered with Akko to offer an insurance plan for new Light III orders! This is an optional insurance plan for the Light III in the US only. You can sign up for a Light Protect Plan using this checkout link after receiving your phone.
--
We really cannot thank you enough for your early support as a Light Phone III user, we look forward to hearing how the phone works for you and working together to keep improving all aspects of the experience of going light.